Android
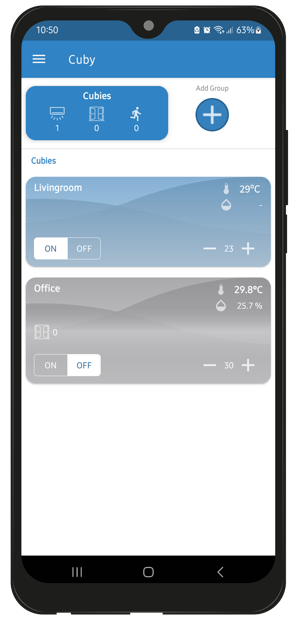
1. Open the Cuby Smart app and select the Cuby you want to apply a rule to.
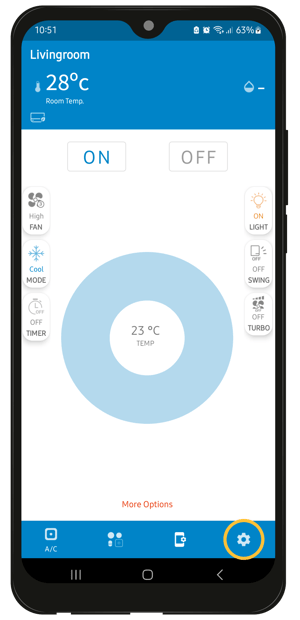
2. Tap the gear icon to view additional settings.
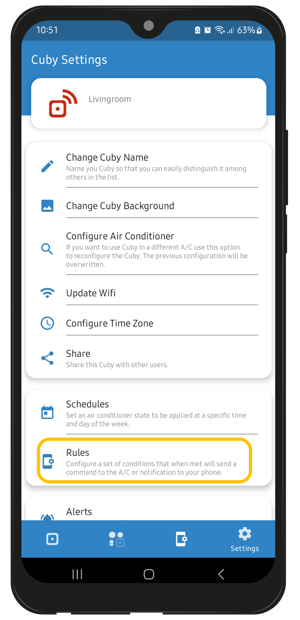
3. Tap on the 'Rules' option.
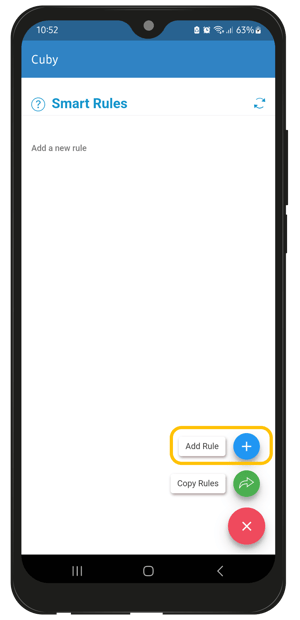
4. Tap on the '+' icon and, as an example, we'll configure the rule: 'Cool in the Afternoon.'
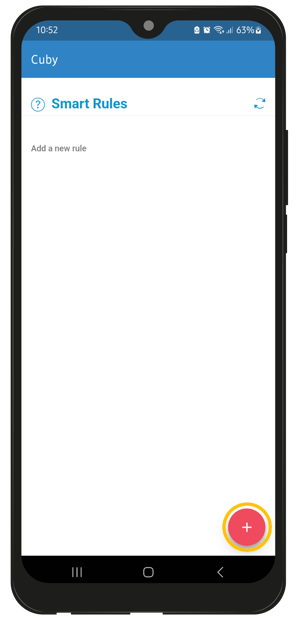
5. Tap on the blue '+' icon to create a new rule.
6. Assign a name to the rule, in this case, 'Cool in the Afternoon.'
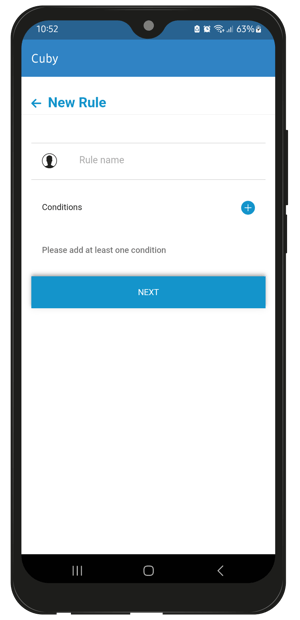
7. Tap on the '+' icon to view the list of conditions you can configure.
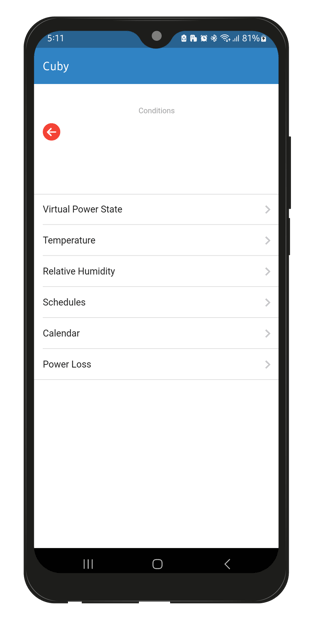
Conditions:
-
Virtual A/C Status (or Virtual State)
-
Temperature
-
Humidity
-
Schedules
-
Calendar
-
Power Loss (or Power Outage)
8. Set the temperature value to '27 degrees'.
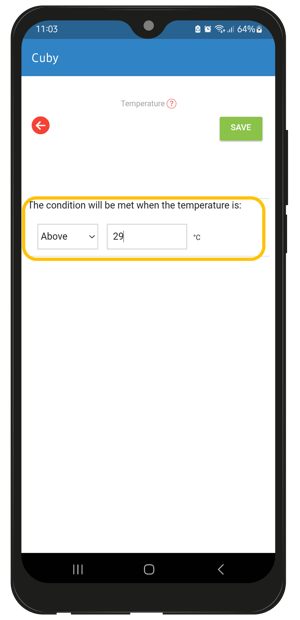
9. The temperature setting will now appear in the list of configured conditions.
10. Tap the '+' icon again and select the 'Schedule' option.
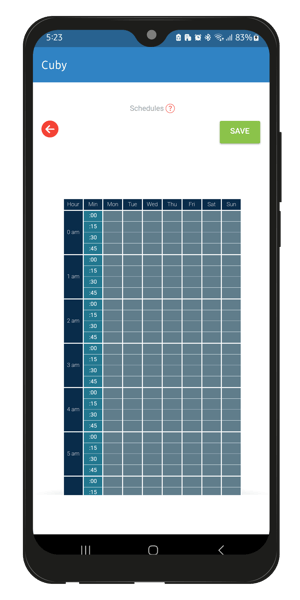
11. Choose a time range and the specific days. Select each checkbox individually.
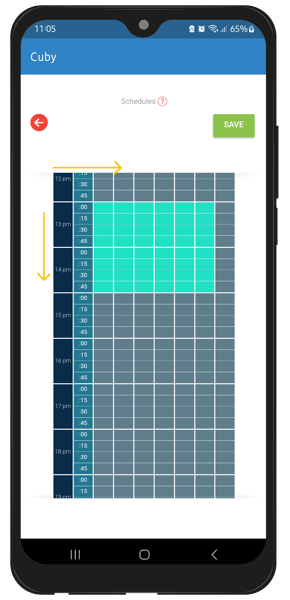
12. Tap 'Save' once you've set the schedule.
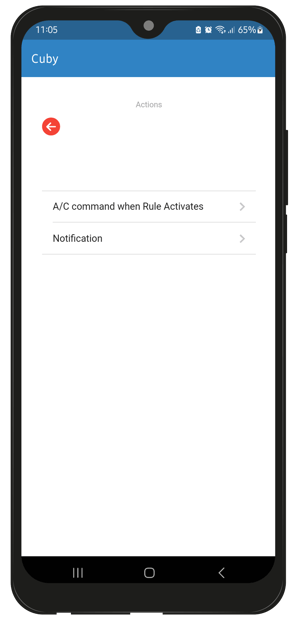
13. Tap 'Next' to add an action to the rule. This determines what will happen when the previously configured temperature and schedule conditions are met.
14. Tap 'A/C command when rule activates' to add a new action for the rule.
16. A menu will appear where you can configure the rule's parameters.
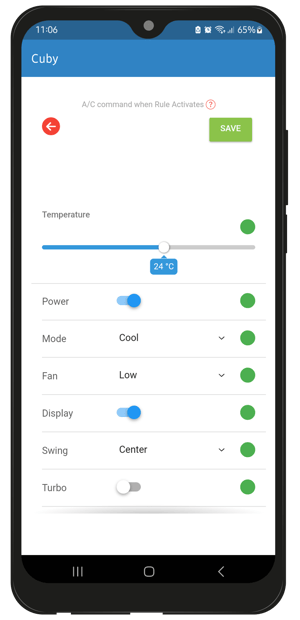
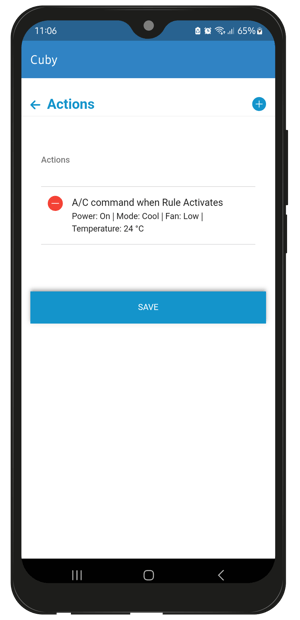
17. Once the action is set up, tap 'Save' to complete it. A summary of the rule you’ve created will be displayed.
A/C Command When rule Activates:
Power: On
Mode: Cool
Fan: Low
Temperature: 24ºC
iOS
1. Open the Cuby Smart app and select the Cuby where you want to apply a rule.

2. Tap on the gear icon to access more settings.

3. Tap on the "Rules" option.

4. Tap the "+" icon. As an example, we will configure the rule: "Cool in the Afternoon."
5. Tap on the blue "+" icon to create a new rule.
6. Assign a name to the rule, such as "Cool in the Afternoon."
7. Tap the "+" icon to view the list of conditions that can be configured.
Conditions:
Virtual power state
Temperature
Relative Humidity
Schedules
Calendar
Power Loss
8. Set the temperature value to "27 degrees."
9. The temperature setting will now appear in the list of conditions.
10. Tap the "+" icon again and select the Schedules option.
11. Choose a time range and the specific days by selecting each checkbox individually. Then tap Save.

12. Tap Next to add an action to the rule. This determines what will happen when the configured temperature and schedule conditions are met.
13. Tap the "+" icon to add a new action for the rule.
14. Select the "A/C Action for Active Rule" option.
15. A menu will appear where you can configure the parameters for the rule.
16. Once the action is set up, tap Save. A summary of the rule you’ve created will be displayed.
A/C Command When rule Activates:
Power: On
Mode: Cool
Fan: Low
Temperature: 24ºC
