0.- Package Contents
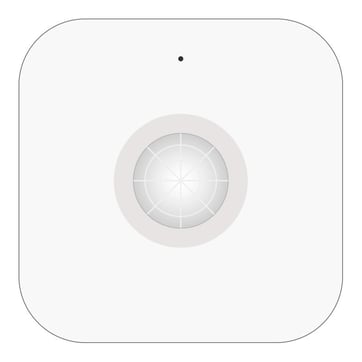
Sentry
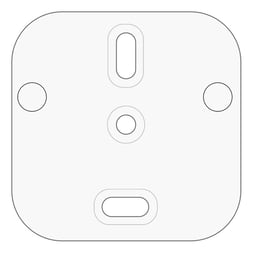
Mounting Accessory

Screw and anchor
Decide the purpose you want for your Sentry
Offline Mode
Your Sentry will work without the need for a Cuby or internet connectivity.
Online Mode
Your Sentry will be assigned to a Cuby of your choice. Your Sentry will work connected to the internet, and you can configure it to operate with the Cuby.
Offline Mode
1. Add your Sentry
Download the Cuby Smart App:
For Android: https://cuby.mx/app/android
For iOS: http://cuby.mx/app/ios
- If you already have a Cuby username and password, log in with it. Otherwise, create a new username and password.
- In the main menu of the Cuby App, select the 'Sensors' option.

- Tap the '+' icon to add a new sensor.
- Scan the QR code located on the back with your phone’s camera.
- Select the "Offline configuration Mode".

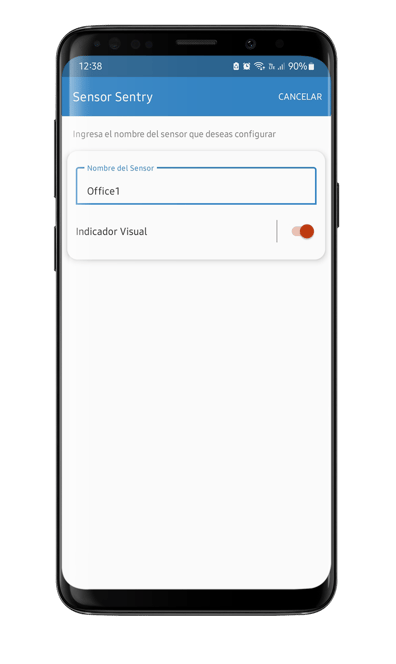
- Assign a name to your Sentry.

Search for A/C Protocol
- Press the button on the back of the sensor until the led indicator shows pink
(Configuration mode) - In the Cuby App, a screen will show an image that says “Connecting to Sentry”, stand by.
- Touch the green “Start” button to begin the search for protocol.
- Turn your A/C on. Sentry will send an infrared signal towards the A/C, if your A/C turns off or makes a sound touch “yes”, otherwise touch “no” and continue until it does.
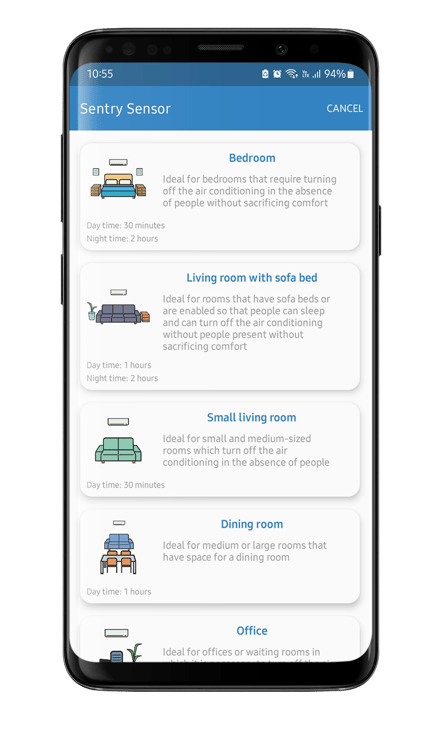
- Select the best option accordingly to the place Sentry is located.
Online Mode
1. Add your Sentry
Download the Cuby Smart App:
For Android: https://cuby.mx/app/android
For iOS: http://cuby.mx/app/ios
- In the main menu of the Cuby App, select the 'Sensors' option.
- Tap the '+' icon to add a new sensor.
- Scan the QR code located on the back with your phone’s camera.
- Select the "Online configuration Mode".
- Assign a name to your Sentry.
- Select the Cuby G4 that is going to be paired with Sentry.

Advanced Configuration
To access Advanced Configuration mode, select the 'Advanced Mode' option at the bottom of the configuration mode screen.
Advanced configuration is only available when the sensor is linked to a Cuby G4 (Online Mode).
In Offline Mode, the sensor operates autonomously and does not require advanced configuration.


Absence Time
Tap the 'Absence Time' option to set the time in minutes that must pass (during the day) without detecting movement to execute the shutdown action.

Night Mode
Tap the 'Night Mode' option to set the time in minutes that must pass (during the night) without detecting movement to execute the shutdown action.

2. Installation
Installation Considerations
It is very important to place the sensor in an ideal location, away from air conditioning flow, windows, and ceiling fans.
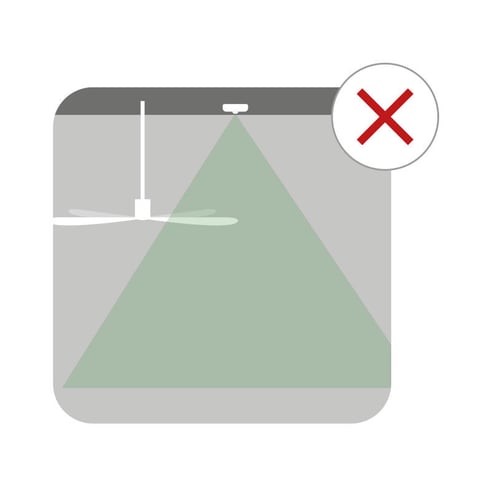
1. If the room has a ceiling fan, try to place the sensor at least 1.5 meters from the center of the fan to avoid inaccurate readings.
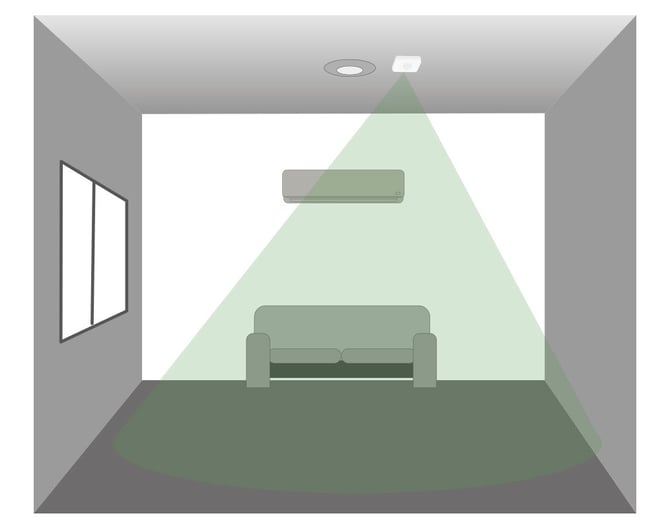
2. Avoid placing the sensor directly in front of the air; if you do, ensure it is at least 2 meters away.
3. When installing in bedrooms, it is recommended to place it as close as possible to the headboard without violating the previous recommendations.
If the sensor will be installed in an area where no one sleeps, it’s a good idea to disable 'Night Mode.' If it will be installed in a location where people sleep, 'Night Mode' must be enabled, with a minimum wait time of 2 hours set for the night.
Install the motion sensor away from fan blades to prevent interference within its field of view.

Avoid installing the sensor directly above the fan, as the blades will obstruct its field of view and cause false triggers.
Install the sensor at a safe distance from the air conditioner vent to prevent airflow from entering its primary detection zone.

Avoid positioning the sensor where the air conditioner blows directly into its detection zone, as rapid temperature changes will cause false triggers.

The sensor has a detection area of 5 to 6 meters in diameter, depending on the ceiling height. When installing in bedrooms, it is recommended to place it as close to the bed as possible without violating the previous recommendations.
IMPORTANT: Ensure that there are no cables or pipes where you plan to install the sensor to avoid puncturing them when drilling.
Mounting with Screw
Position the mounting accessory on the ceiling where the sensor will be installed and mark the center hole with a pencil.

Use a drill to make a hole

Insert the anchor and screw in the mounting accessory.

Mounting with Double-Sided Tape
Use the provided double-sided tape and remove the protective layer.

Clean the area and place the accessory in your chosen location, pressing down for a few seconds until it is secure.

The sensor has 2 holes that should be inserted into the mounting accessory.

Después de insertar el sensor en el accesorio de montaje deslízalo hasta sentir el click.

Indicator LED
| STATE | LED COLOR | DESCRIPTION |
| Online Mode | No color | The device is online |
| Offline Mode | Blue | Device is operational, with night mode active. |
| Offline Mode | White | Device is operational, night mode inactive. |
| Error Mode | Red | Device offline and time lost; reconfiguration needed. |
| Configuration Mode | Blinking Pink | Device is in configuration mode. |
Conditions of Use
To ensure proper operation and extend the product’s lifespan, the following conditions must be met:
-
Relative Humidity: The product must not be exposed to humidity levels above 90% for prolonged periods, as this may affect its performance and reliability.
-
Heat Exposure: The product should not be placed near heat sources (stoves, radiators, ovens, or other equipment that generates excessive heat).
-
Direct Sunlight: Avoid continuous exposure of the product to solar radiation, as it may alter the operating temperature and damage its internal components.
Failure to comply with these conditions may reduce the device’s lifespan or cause malfunction.